

How do I extend my laptop screen?
A laptop screen extender refers to any display accessory that enables the simultaneous use of multiple screens, facilitating seamless multitasking. These extenders are compatible with laptops of various operating systems (Windows, Linux, or macOS) and feature USB, HDMI, or DisplayPort connectors. They offer versatility for a wide range of tasks. Whether you're engaged in graphic design, gaming, office work, video editing, presentations, or school assignments, they provide an enhanced viewing experience.
With laptop screen extenders, you can cost-effectively broaden your workspace, thereby boosting overall productivity.

Is a Screen Extender Worth Having?
A laptop screen extender enlarges your display on a single computer system, allowing you to have separate and multiple windows open on each screen, seamlessly moving your cursor between them.
It's important to distinguish between screen mirroring and screen extending. While screen mirroring duplicates content from one device (such as a smartphone, tablet, or computer screen) to another screen in real time, screen extending, also called a dual-screen setup, expands your workspace horizontally.
With a screen extender, you can boost productivity and minimize task switching. Instead of cycling through windows to work on your project, you can view and interact with multiple windows simultaneously. This setup not only reduces the likelihood of errors but also makes various tasks more efficient and enjoyable by providing a larger and more flexible workspace.
Hardware Requirements
The ports required to connect your screen extender will vary depending on its brand and model. For older devices, you might need to look for S-Video, VGA, and DVI ports on your laptop, while newer devices commonly feature HDMI, DisplayPort, and USB-C ports.
While desktop monitors are often utilized as screen extenders, other options are also popular. Television screens, projectors, and dual-screen monitors are excellent choices for office settings. Depending on your screen extender's necessary ports, you'll require HDMI, USB-C, or VGA cables for connectivity.
Software and Compatibility
Screen extending is a powerful tool for enhancing productivity across various operating systems. Most screen extenders seamlessly integrate with Windows, macOS, and Linux laptops or desktops, as well as gaming devices like Switch, PlayStation, and Xbox (and their variants).
Setting up a screen extender on Windows and macOS is hassle-free, as these operating systems come equipped with built-in programs for configuration.
For advanced features and a more tailored experience, you can opt to install specialized dual monitor tools. Applications like Dual Monitor Tools, NVIDIA nView, and DisplayFusion Free offer additional functionalities.
Connecting to a second monitor is typically straightforward and rarely presents issues. However, some common problems you might encounter include:
1. Your computer or device may not support the display due to limitations in color depth, pixel count, or interface options.
2. Damage or malfunction of the monitor cable or the laptop port can affect connectivity.
3. Insufficient bandwidth in your computer's display drivers may lead to an improper calculation of the secondary display.
How to Extend Screen on Windows 11/10?
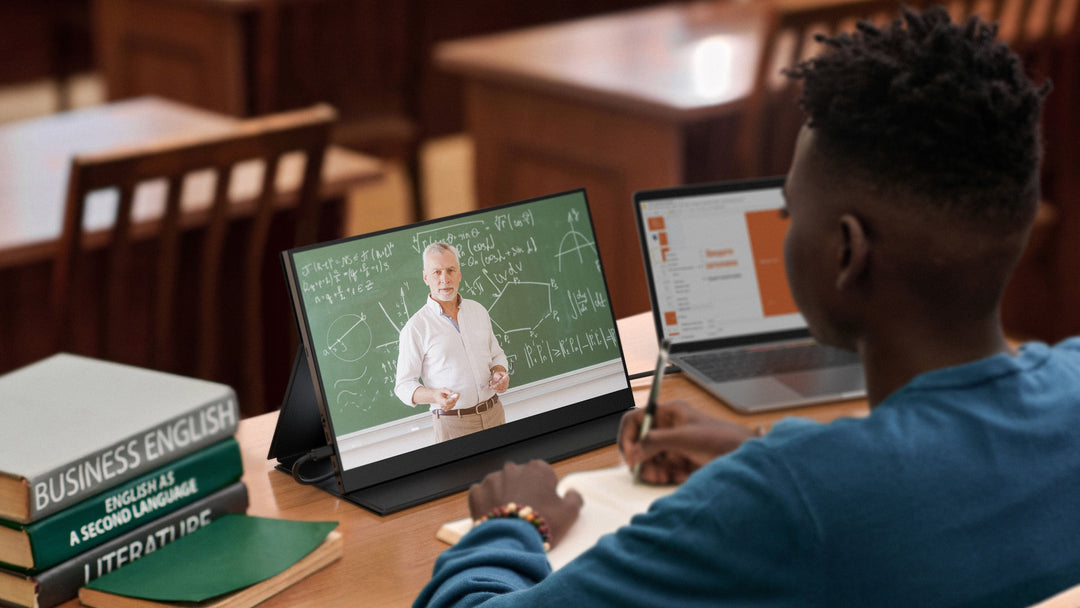
Laptop screen extenders offer a remarkable solution for boosting productivity, minimizing editing time, and preventing errors. They are highly versatile, finding use in office environments, classrooms, and homes alike, catering to diverse needs such as enhanced viewing experiences, gaming, presentations, design work, and more.
For Windows 11 users looking to extend their laptop screen, the following steps will seamlessly guide you through the process:

Step 1: Connecting the External Display
- Identify Your Laptop's Display Ports: Begin by checking the available ports on your laptop. Depending on your screen extender model, you might need VGA, DVI, HDMI, DisplayPort, or USB-C cables for connectivity.
- Connect Your External Monitor: Establish the connection between your external monitor and your laptop. You may need an adapter to optimize compatibility between your monitor's specifications and your laptop's ports.
- Power on Your Monitor: Once connected, ensure your monitor is plugged into a power source and turned on. For added convenience, consider monitors like the UPERFECT Delta, equipped with dual USB-C ports with pass-through charging for seamless operation.
Step 2: Configuring the Extended Screen

- Access Display Settings: Press the Windows key + P to select a display option. You can also access your display settings by navigating to Start > Settings > System > Display.

- Detect Your Monitor: The system will detect the extension and display your desktop. Go to Multiple Displays > Extend these displays if this doesn't happen automatically.
- Extend Your Display: Scroll down to "Multiple Displays", select the device from the dropdown menu, and click "Apply."
Step 3: Organizing the Display Configuration
- Identify and Rearrange Displays: Begin by identifying and arranging the numbered displays to match your monitor configuration. You may need to adjust or drag and drop them accordingly.
- Set Primary and Secondary Displays: Establishing a primary screen is crucial. To set a primary display, simply click on your preferred screen (either your laptop or extended monitor) and select the "Make this my main display" option by checking its corresponding box.

How to Extend Screen on Mac?
To learn how to extend your screen on a Mac, follow these instructions:
Step 1: Connecting to the External Display
- Locate Your MacBook's Ports: Begin by identifying the available ports on your Mac and determining the number of displays it can support. Common ports include Thunderbolt (2 or 3), HDMI, USB-C, USB4, or Mini DisplayPort.
- Connect Your External Monitor: Use a compatible cable or adapter to connect your monitor to your MacBook. Depending on the available ports and cables, you may be able to connect two or more external displays.
- Power on the Monitor: Ensure your external monitor is plugged into a power source and turned on to enable its display.
Step 2: Setting up the Extended Screen
- Access Display Settings: Once your monitor is connected to your laptop and confirmed to be powered on, adjust display settings such as resolution, brightness, and color profile. Navigate to the Apple menu > System Settings > Displays.
- Organize Your Displays: Adjust your extended display layout to your preference. To do this, go to Displays > Arrangement. If this option doesn't appear, click "Detect Displays."
- Extend Your Desktop: Once display extending is set up, choose whether to extend or mirror your screen. To extend your desktop across both screens, uncheck the "Mirror Displays" box.

Step 3: Organizing Display Arrangement
- Reposition Monitors: Adjust the arrangement of your monitors by dragging the white menu bars in the Arrangement section. Choose the monitor you prefer to serve as the primary display.
- Align Displays: Move the display icons by clicking and dragging them on the screen to mirror the physical setup of your monitors.
Conclusion
Secondary screens have proven their effectiveness in boosting productivity and efficiency across various environments, including homes, offices, and classrooms. They support a diverse range of activities such as graphic design, writing, gaming, and more.
For those looking to extend their laptop screen, consider the UPERFECT Delta. With its sleek and stacked design, it optimizes convenience while its 15.6-inch display offers a versatile workspace. Whether used as a standalone monitor, a dual-screen setup, or for presentations, the UPERFECT Delta caters to the needs of professionals, students, and gamers alike.

Leave a comment